
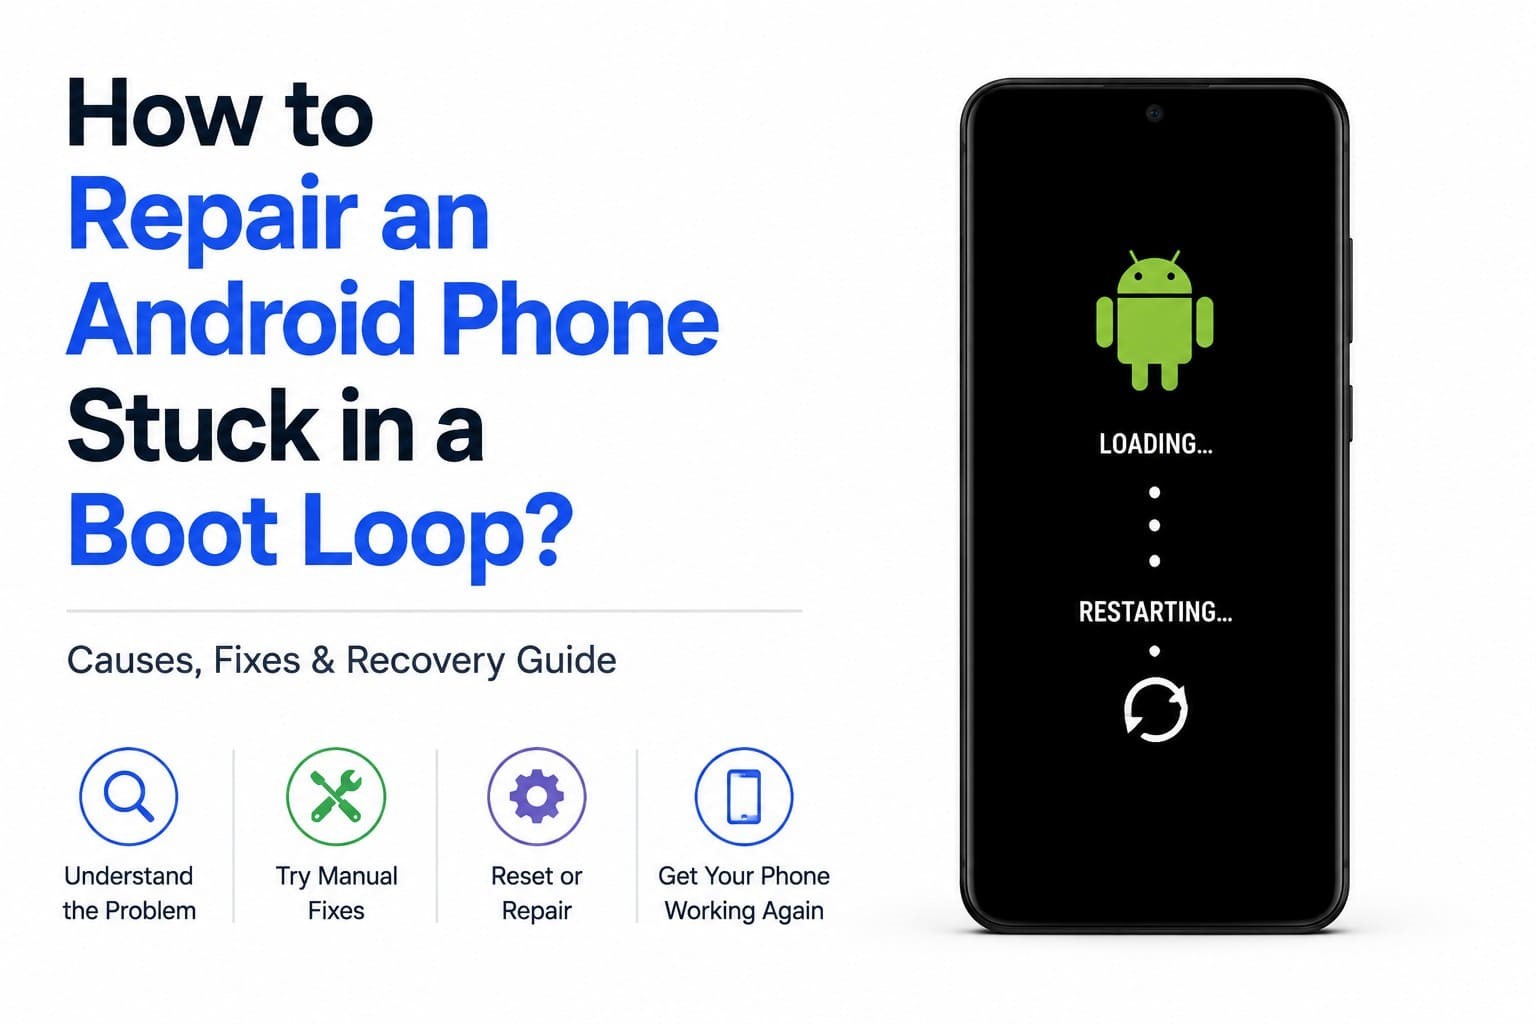
Your phone powers on, displays the manufacturer’s logo, then goes dark and restarts. It never reaches the home screen, and there’s no obvious way to interrupt it. That’s a boot loop, and it’s one of the more recoverable Android faults despite how bad it looks.
If you want to know more, review this guide to learn about some basic Android phone fixes. When simple solutions fail, get to know how Dr.Fone – Screen Repair (Android) can fix it.
Part 1. What Is an Android Boot Loop?
An Android boot loop is a startup that never finishes. When your phone turns on, Android hits a critical error, fails to load, and reboots. The system then repeats this exact loop endlessly, and it’s not the same as a phone that will not turn on. It’s also not a dark display on a phone that’s quietly running underneath.
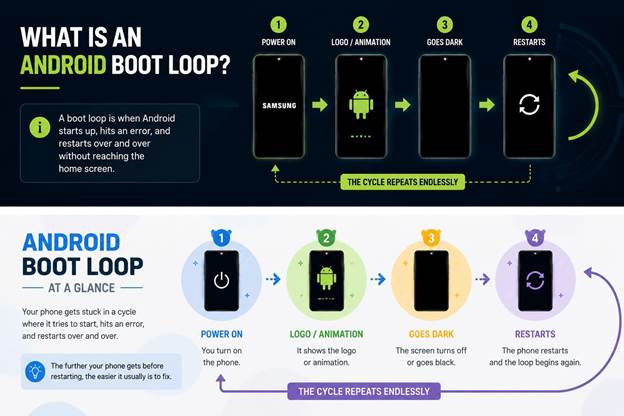
A loop gives you visible proof every time round: a logo, maybe an animation, sometimes a vibration, then darkness. How far your phone gets before it drops tells you roughly where the fault sits. A phone that reaches the boot animation fails later than one stuck on the logo, and these later failures are usually easier to fix.
Part 2. Why Android Boot Loops Happen
Before you fix Android phone, review the table below to identify the root cause. The four common causes below account for many boot loops, and they differ in one important way based on whether erasing your data alone will help.
| Cause | What Usually Triggers It | Does a Reset Alone Fix It? |
| A Failed Update | Power loss or an interrupted system update. | Only if system files remain intact. |
| Corrupted Cache | Damaged temporary system files. | Yes, if cache corruption is the cause. |
| An Incompatible App | An app that conflicts with Android. | Yes, after removing the app. |
| Modified Firmware | A custom ROM, root, or bootloader changes. | No, firmware repair is required. |
Part 3. Manual Ways to Break the Android Loop
Try all these 4 Android phone fixes before you try anything that erases data:
Fix 1. Force Restart, Then Let It Settle
Some loops stem from a stuck process rather than damaged files, and a proper power cycle clears them. To know how you can force restart standard Android models, here are the detailed directions for you:
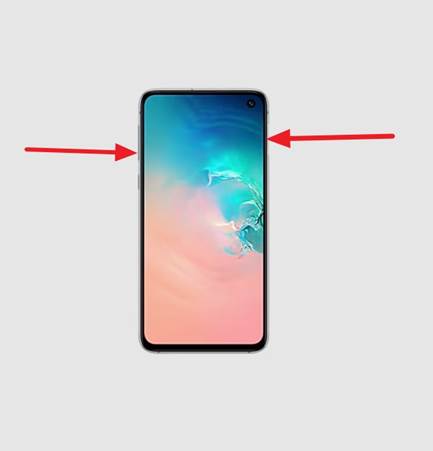
Most Android Phones
Instructions. Press and hold the “Power” button or the “Power” and “Volume Down” buttons until the phone force restarts.
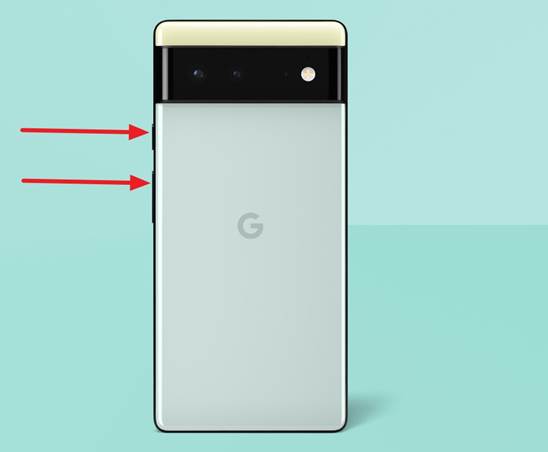
Google Pixel and Some Other Models
Instructions. Maintain pressure on the “Power + Volume Up” button for 5 to 30 seconds until the device shuts off and restarts.
Fix 2. Take Out the SD Card and SIM
Shut the phone down, remove any microSD card along with the SIM tray, then start it again. A corrupted card can stall startup while Android tries to mount it, and that looks identical to system damage from the outside. Booting fine without the card tells you the card is what needs replacing.
Fix 3. Get into Safe Mode
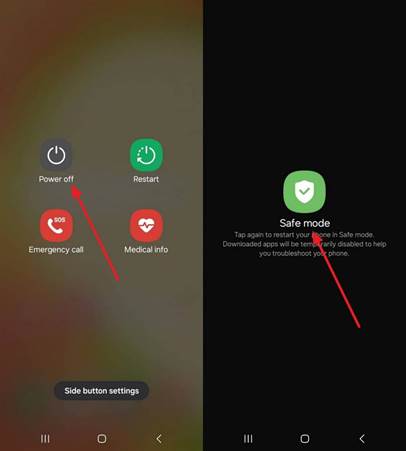
Safe Mode runs Android with everything you’ve downloaded disabled, so reaching the home screen this way points straight at an app. Uninstalling your newest additions usually settles it, and here’s how you can fix an Android phone boot loop:
Instructions. Take Samsung as an example. Open the “Power” menu, touch and hold “Power Off,” then tap “Safe Mode.” Remove recently installed or unnecessary apps that may be causing the boot loop.
Fix 4. Clear The Cache Partition Where You Can
This clears temporary system files without touching your photos or apps. Many newer Android phones, including Pixel, no longer offer this option because seamless updates changed the partition structure. Samsung phones generally still offer it, and below are the detailed steps for this:
Step 1. Power off the device, connect it to a computer, and press the “Volume Up + Power” buttons until the logo appears.
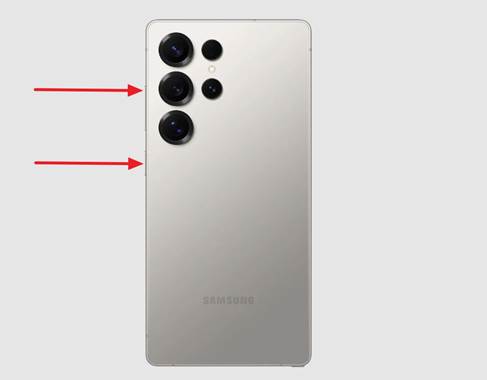
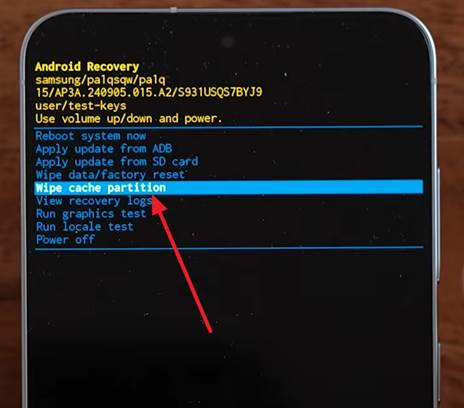
Step 2. After that, disconnect the phone, and the Android recovery menu will load. Use the “Volume Down” button to select “Wipe Cache Partition,” and press “Power” to access it.
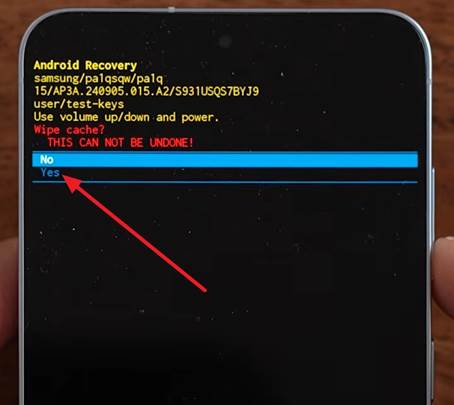
Step 3. Choose the “Yes” option and press “Power” to confirm it. When the process ends, proceed with “Reboot System Now.”
Part 4. Factory Reset, Wipe Cache Partition, or Android Repair?
These options solve different boot loop problems. Factory Reset and Wipe Cache Partition are available in Android Recovery Mode, while Android Repair reinstalls the system firmware using a repair tool or the manufacturer’s software.
| Metrics | Wipe Cache Partition | Factory Reset | Android Repair |
| What It Actually Does | Clears temporary system cache files. | Erases user data and settings while keeping the installed Android version. | Reinstalls or repairs damaged Android system files. |
| Your Data | Kept | Erased | May be kept, depending on the repair method. |
| Fixes System Corruption? | Only cache-related corruption. | No | Yes |
| Best For | Cache-related boot issues and minor software glitches. | Severe software issues, app conflicts, or restoring default settings. | Boot loops caused by corrupted system files, failed updates, or firmware issues. |
A factory reset wipes everything you own but reinstalls nothing. A loop caused by damaged system files will still be waiting when the phone comes back up. You’ll have paid the full price in data for no result whatsoever.
Part 5. Repair Your Android Device Issues with Dr.Fone
Dr.Fone – System Repair (Android) targets exactly that bottom row. It works out which firmware your phone should be running, fetches it, and writes it for you. That’s precisely the part that goes wrong when people flash by hand. This module is designed to keep data intact for Xiaomi, Redmi, and POCO devices during the repair process.
For Android models other than these, you may experience data loss, so back up before you commit. Nonetheless, it lets you access Samsung Download Mode/Odin Mode for free with guided steps. You can also exit Android Recovery Mode without key combinations, and the interface is intuitive.
Key Features
- Update Failure Repair: Recovers a phone left unbootable by a system update that never completed.
- Samsung Tablet Coverage: Handles Samsung tablets as well, using the same repair process.
- App Crash Resolution: Resolves recurring app crashes and Play Store errors caused by system damage.
- Frozen Screen Recovery: Restores devices whose interfaces have locked up and stopped responding.
- Ten-Minute Turnaround: Finishes a typical repair in under 10 minutes once firmware is downloaded.
Simple Manual to Fix Android Phone Boot Problems with Dr.Fone
If you wonder how this Android OS repair software can help you resolve the Android boot loop, follow the given guide:
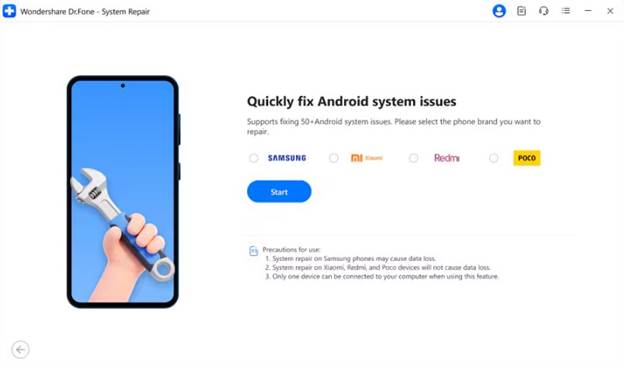
Step 1. Start Repair from Dr.Fone Android Repair
From the “Android Repair” tool of Dr.Fone, click the “Repair Now” button and continue to choose the Android brand and press “Start.”
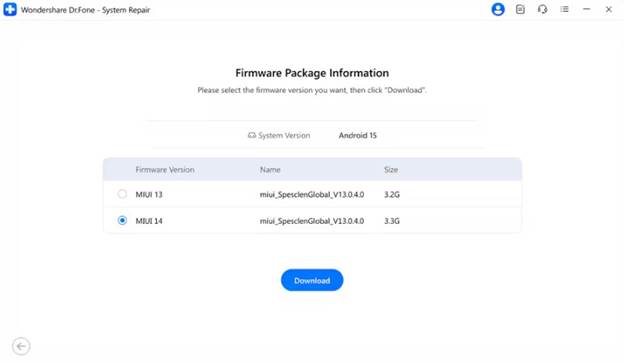
Step 2. Choose to Download the Firmware
This Android system repair tool will then scan appropriate firmware packages from which you have to select and download one.
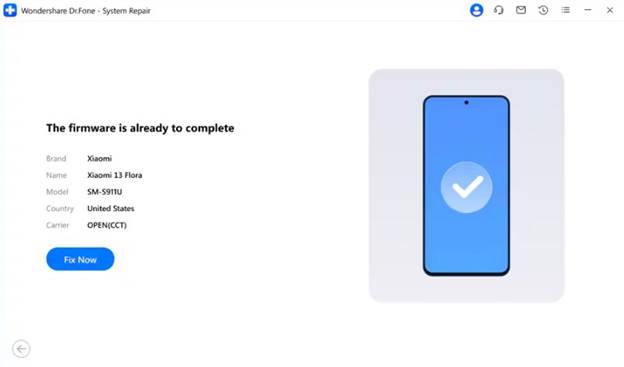
Step 3. Press the Fix Now Button
After that, the platform will display detailed device and firmware information. Press the “Fix Now” button to resolve the boot loop issue.
Final Reminder
Never interrupt a firmware update by restarting the phone or turning it off. Many boot loops that require firmware repair begin with an incomplete or interrupted system update. Charge the battery above 50%, use a stable USB connection if required, and leave the phone undisturbed until the update is complete.
If your phone is already in a boot loop, try Wipe Cache Partition before Factory Reset to avoid unnecessary data loss. Other than that, you can rely on Dr.Fone – System Repair (Android) as the practical Android phone fix.
